01 09 10
Showing posts with label Tutorial. Show all posts

12 March 2017

Sleeping Hedgehog


Hello - it's Helen here with a little tutorial to show you how to make this baby card.

First of all, stamp the 'Sleeping Hedgehog' stamp on to white card and patterned paper using Tuxedo Black Memento ink:


Next, cut out the cushion from the image stamped on to the patterned paper:


Colour the image stamped on to white card and then put the piece you have just cut out over the main image:


Add a sentiment and some embellishments to finish:


Helen x


27 February 2017

Distressing Edging of Backing Papers

Hi Crafters

Welcome back and today I have a tutorial showing two techniques
of how to distress the edges of backing papers
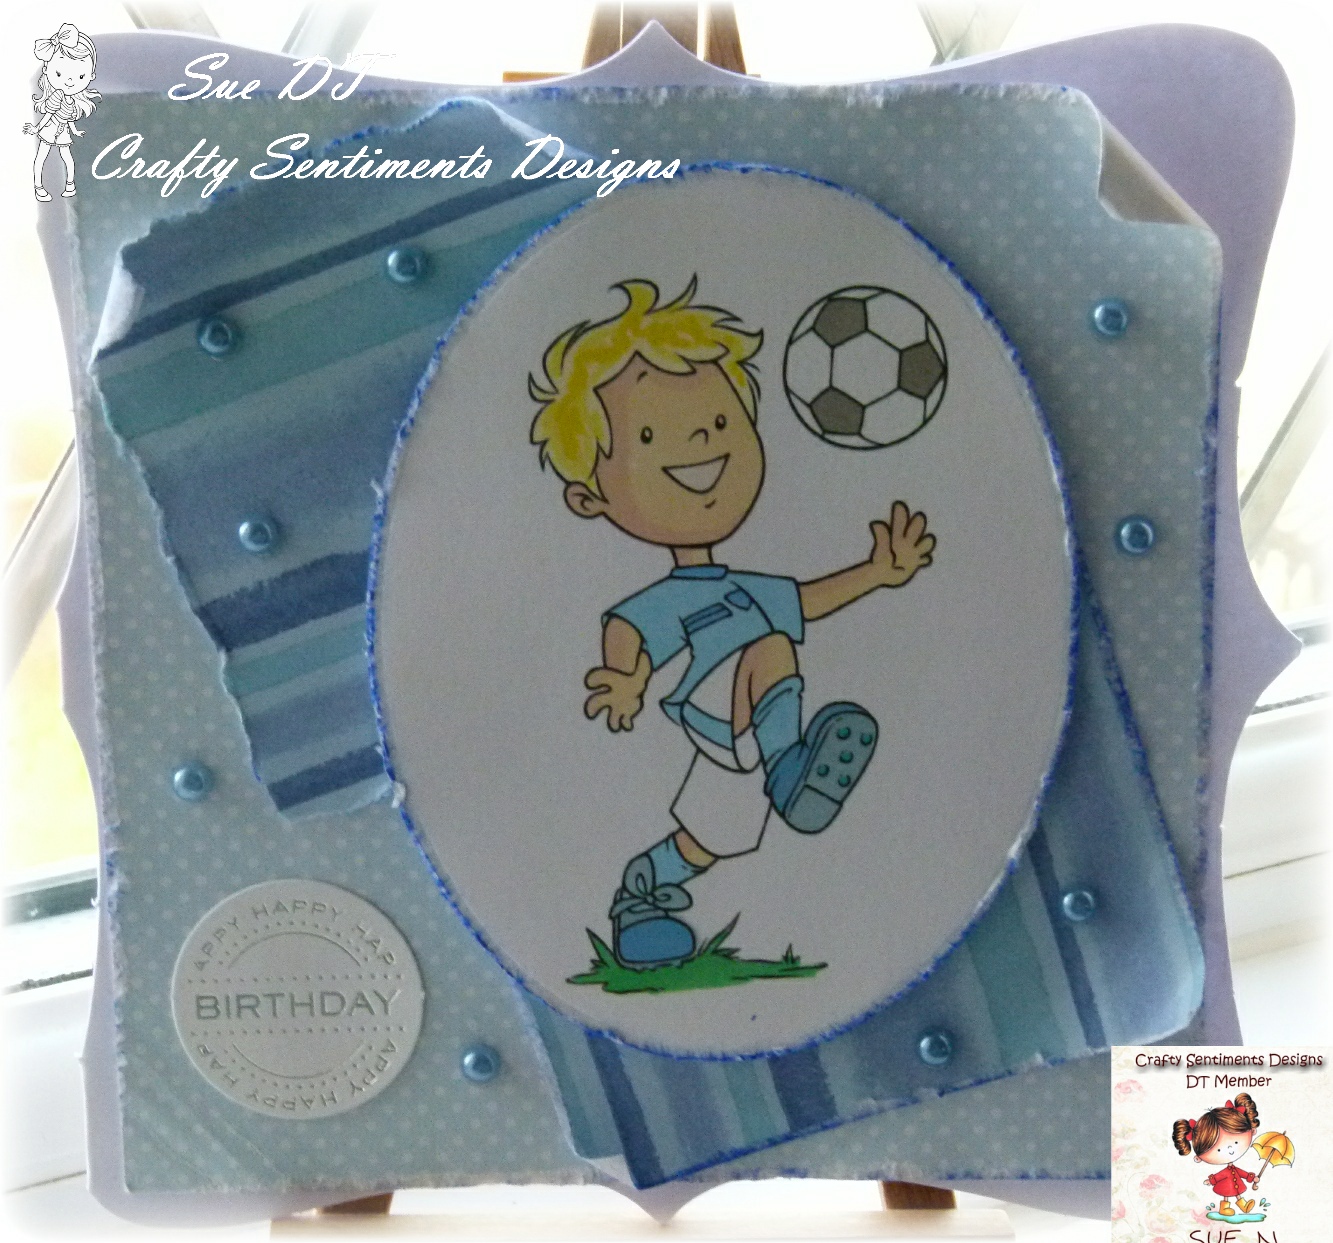
Stamp image used Josh the Game
See sidebar for links to shop and above.

Step one
Using the inside of your scissors rub against the edge of the paper
Step Two
Do this on all four sides of the papers
Step Three
Other technique is tearing the four sides, gives a rough edge
Step Four
To make couple of the corners to curl, use a pencil and wrap round
Step Five
Make more rough edge,  go round each backing paper with sand paper

Final Card shows the finish with the layers and curl edges


Thanks for stopping by and hope you have a go.
Cheers

Sue N


11 February 2017

Endless Love ...


 Hello - it's Helen here with a little tutorial to show you to make this box.  It could be used for chocolates, jewellery or lots of treats!

To start with, you need to cut and score the box lid and base.   I've put the measurements on a piece of a white card to show you what you need to do:


 Cut two pieces of red card the same size as shown above but before scoring and folding trim 0.5cm off one long and one short side of one of the pieces.  Score both pieces as shown above.  The smaller piece will be the base of the box and the larger will be the lid.

Next cut both pieces as shown in the photo below:


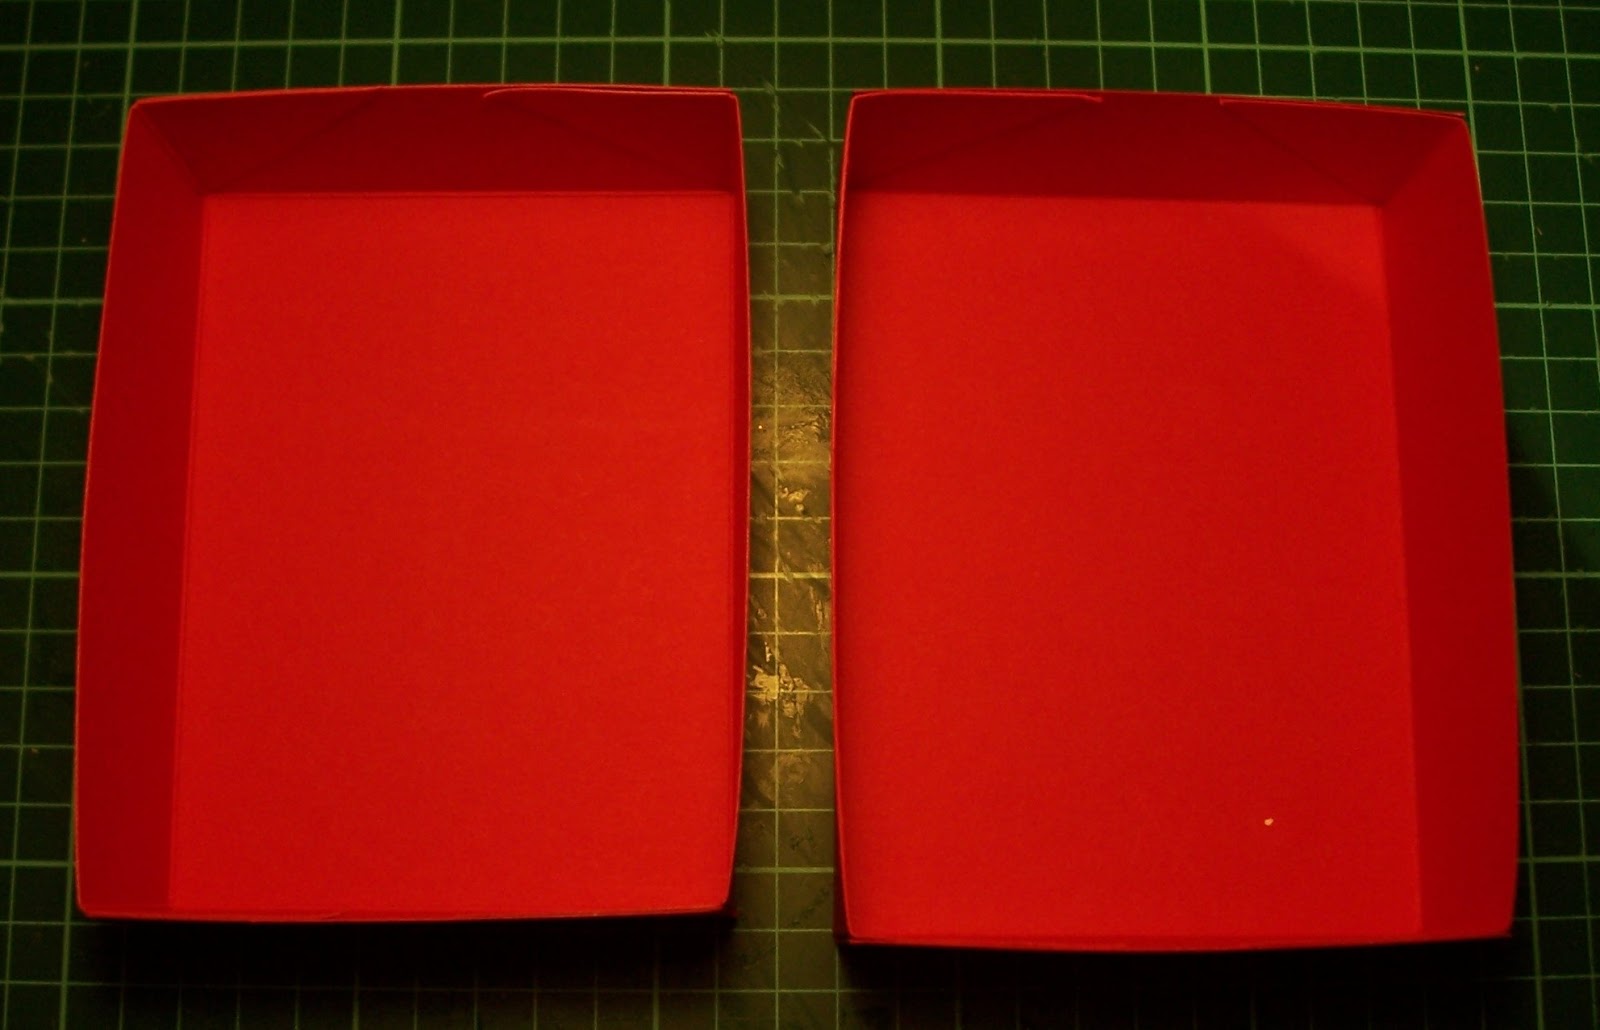
Fold the tabs round and stick to form the base and lid as shown below.  The best adhesive to use for this is double sided tape, ideally extra strong tape:


Stamp the 'Endless Love' stamp on to white card and colour.  Add a mat of red paper under the image.  Cover the box top with patterned paper and stick the image to the top of it:


 Add patterned paper to the sides of the box and some red Card Candi:


 I've finished the box with a die cut sentiment and some red gems:


 And here it is again:


Enjoy the rest of your weekend

14 January 2017

60's Fashion Card


 Good morning - it's Helen here to share a little tutorial for a card I've created using the '60's Fashion' stamp which you can find here.

First of all stamp your image and colour.  Cut a piece of white card to measure 14cm by 10cm and a piece to measure 4cm by 28cm:


Mat patterned and/or plain paper on to the larger rectangle.  Score the longer piece at 14cm, fold and mat paper on to this as well:


Stick the back of the long folded piece to the back of the other rectangle as shown below:


Mat the image on to black card and stick to the front of the folded strip.  Add some gems to embellish:


And here's a side view of the card:


Enjoy the rest of your weekend!

2 January 2016

Annabel - Let's Dance - Tutorial


Good morning - it's Helen here to share a tutorial to make this card using the very cute 'Annabel - Let's Dance' stamp.

This is what you'll need to make the card:

14.5cm square white card blank
patterned paper and two coordinating colours of paper and card
Tuxedo Black Memento ink pad
colouring medium of your choice
flower die and hole punch

And here's what you need to do:

1. Using the Memento ink pad, stamp the 'Annabel - Let's Dance' stamp on to a piece of white card measuring 11cm by 6.5cm and colour in.  Mat the image on to dark brown paper measuring 11.5cm by 7cm and kraft card measuring 12cm by 7.5cm as shown in the photo below


2. From one side of the card blank, cut away a piece of card measuring 9.5cm as shown in the photo below:


3. Decorate the remaining flap and the inside of the card using patterned paper and dark brown paper as shown in the photo below:


4. Put some double sided tape along the top of the image panel and attach to the shorter card flap ensuring that the bottom edge of the image panel is level with the bottom of the inside panel of the card as shown in the photo below:


5. Embellish your card as you choose:


I hope you've enjoyed my little tutorial!