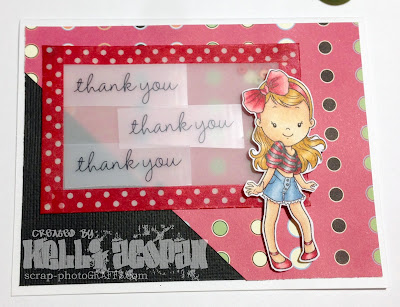
So first off, I used a strip of vellum I had in my scraps, Folded it measured about 2.5" x 4". You can use any size you'd like, but I wanted to make sure it fit nicely on an A4 (4.25" x 5.5") card.
Add some washi around all four edges of your folded piece. This is going to be what holds our card together. You can use any color or pattern of washi but I recommend something with a pattern that won't cut off when you fold it in half!!
Add some confetti or punched out shapes or sequins... I chose to use sequins for this card. Oh and here's a better picture of the washi around the edges of my vellum piece!
Once you get your shaker pieces in, close the vellum flap and fold over the edges to seal the pocket closed. You might have to trim some corners if they stick out and that's okay!!
Next I assembled my card base. I had this dotted paper in my scrap stash and so just added a small bit of black cardstock in the corner to cover up the white. There's my colored image all fussy-cutted and waiting for her turn in this tutorial lol!!
Add some adhesive to the back of your shaker card... you can see through the pocket so make sure you stick to parts you can't see from the front!! When you get it all sticky, stick it down!!
Now here's my girl with some foam dots. She finally gets to be featured in her tutorial!!!
I used some rubons to add the sentiment to the shaker. You could totally stamp or print or whatever else you could think of, but my not-so-secret secret is that I'm actually a really lazy person. And stamping on vellum would mean that I would have to emboss or heat set or whatever extra work that would require and I just wasn't up to it today!!
Anywhoo, first you wanna move all your shaker pieces to the bottom or side of the shaker so when you rub, you don't have lumps to rub over. I laid out my rubons to make sure that I liked the layout, and then rub, rub, rub!!!
And once again here's the finished project! She is just absolutely adorable and this card was so much fun to make!!
Thanks for stopping by and I hope you like my tutorial today!! See you again soon!!
lovies, =o) kel


No comments:
Post a Comment