
Hello craft lovers,
I am here today with a fun project with tutorial.
I've made this card for Crafty Sentiment Designs Inspirational Blog.
Hope you enjoy my tutorial xx
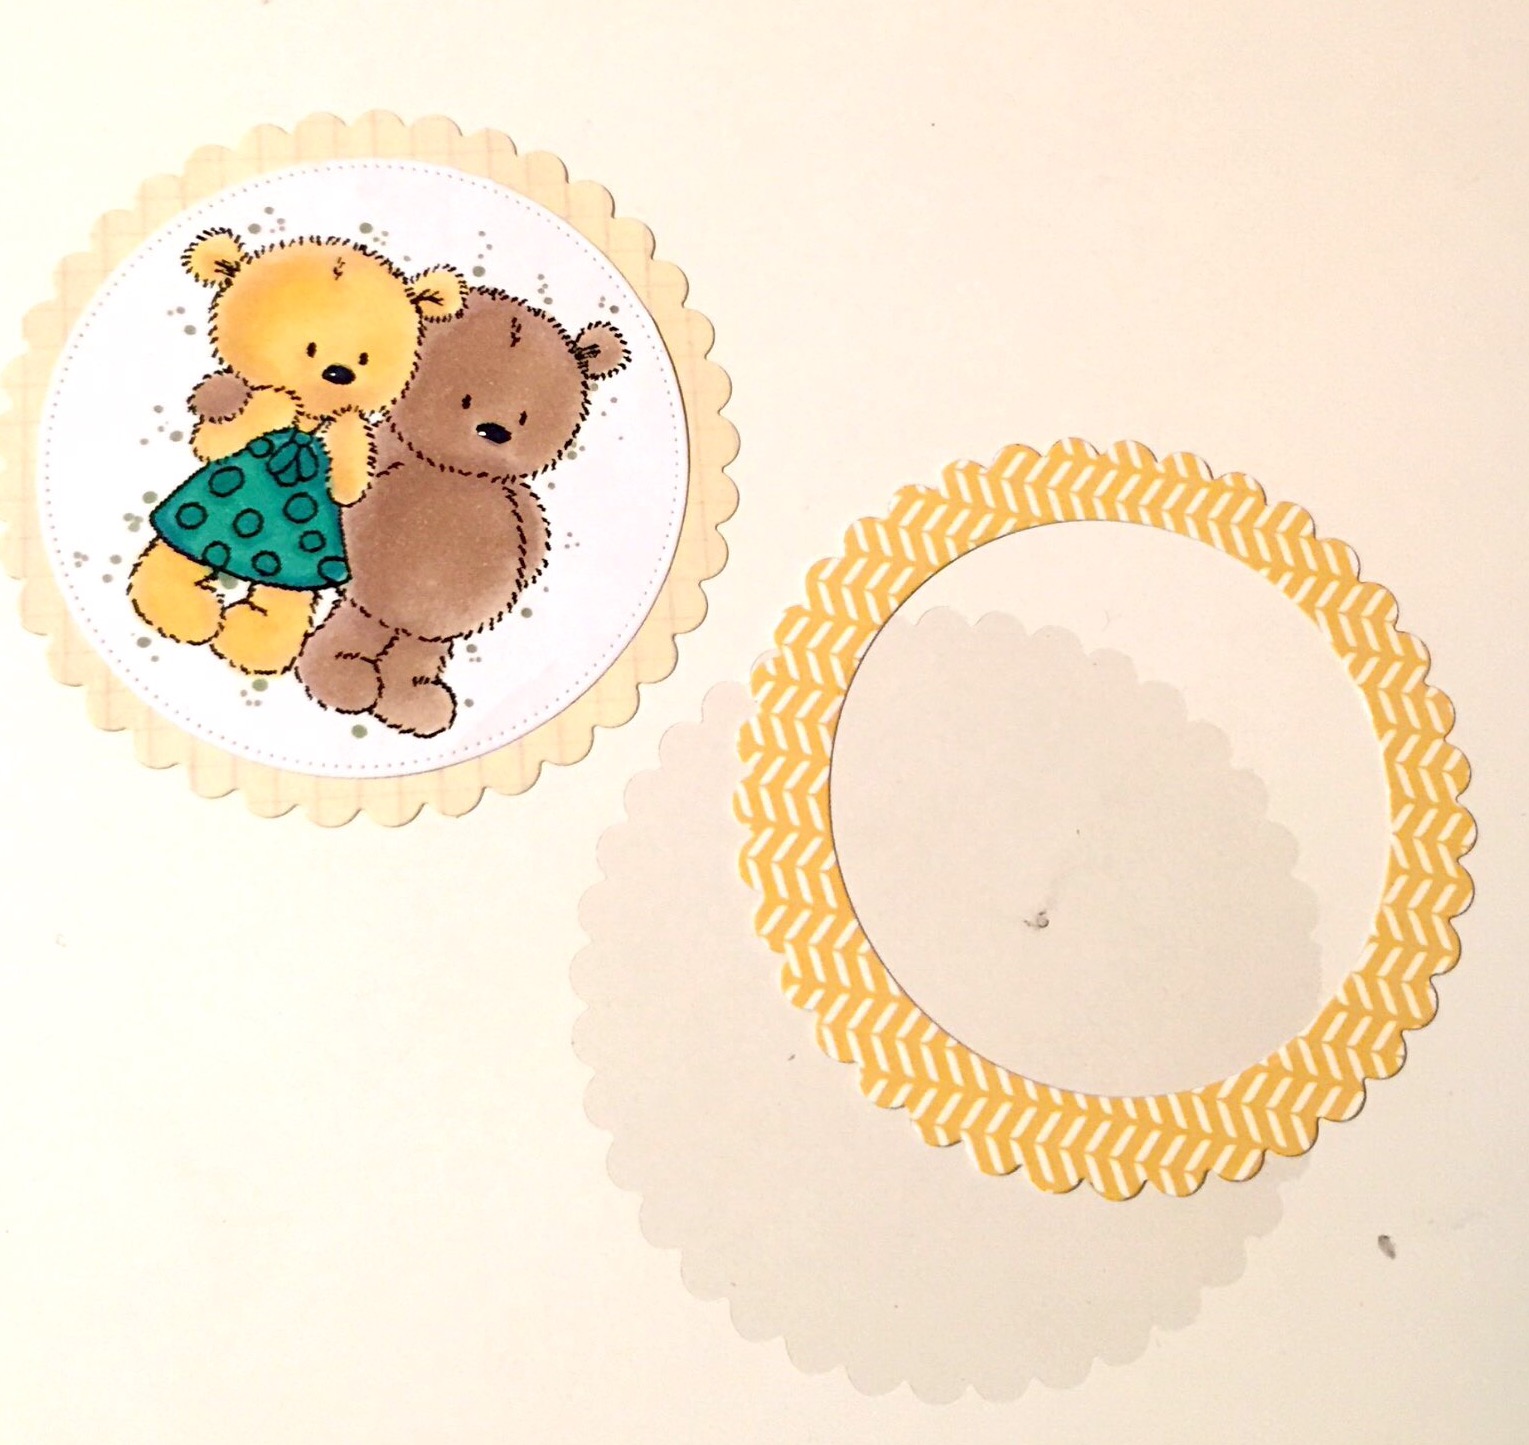
Step 1. Cut all the layers using your dies, I have used the spellbinder Scalloped circles Nestabilites and the Di-namics pierced circle stax for this project.

Step 2. Adhere the image to the bottom layer.
Step 3. Add some glue to the frame, then place the window carefully to cover the frame.
Make sure that it is completely covers the frame.

Step 4. Maker sure you are using foam pads that are thick so the material you use inside the shaker have enough space to move around when you shake the card.

Step 5. Place the foam pads around the whole frame with zero space between so the glitter and other material won't come out.

Step 6. Place the top layer on top of the bottom layer making sure they cover each other perfectly.

Step 7. To avoid the foam pads from showing I used a piece of ribbon and covered the foam pads and then glued the ribbon at the end.

Now your shaker is ready. Time to decorate your card.


The image I have used on this project is a digital stamp called Poppy and Henry by Crafty Sentiments
I coloured the image using Copic markers and added some glossy accent to their nose.
For more details on what materials I have used on my cards please go to my blog
http://sasayakiglitter.weebly.com/
Thank you
Hugs
Naz xxx


No comments:
Post a Comment