01 09 10
Showing posts with label Julie Odil. Show all posts

12 September 2016

Isobel - Flower Pot - a New Release This Month!

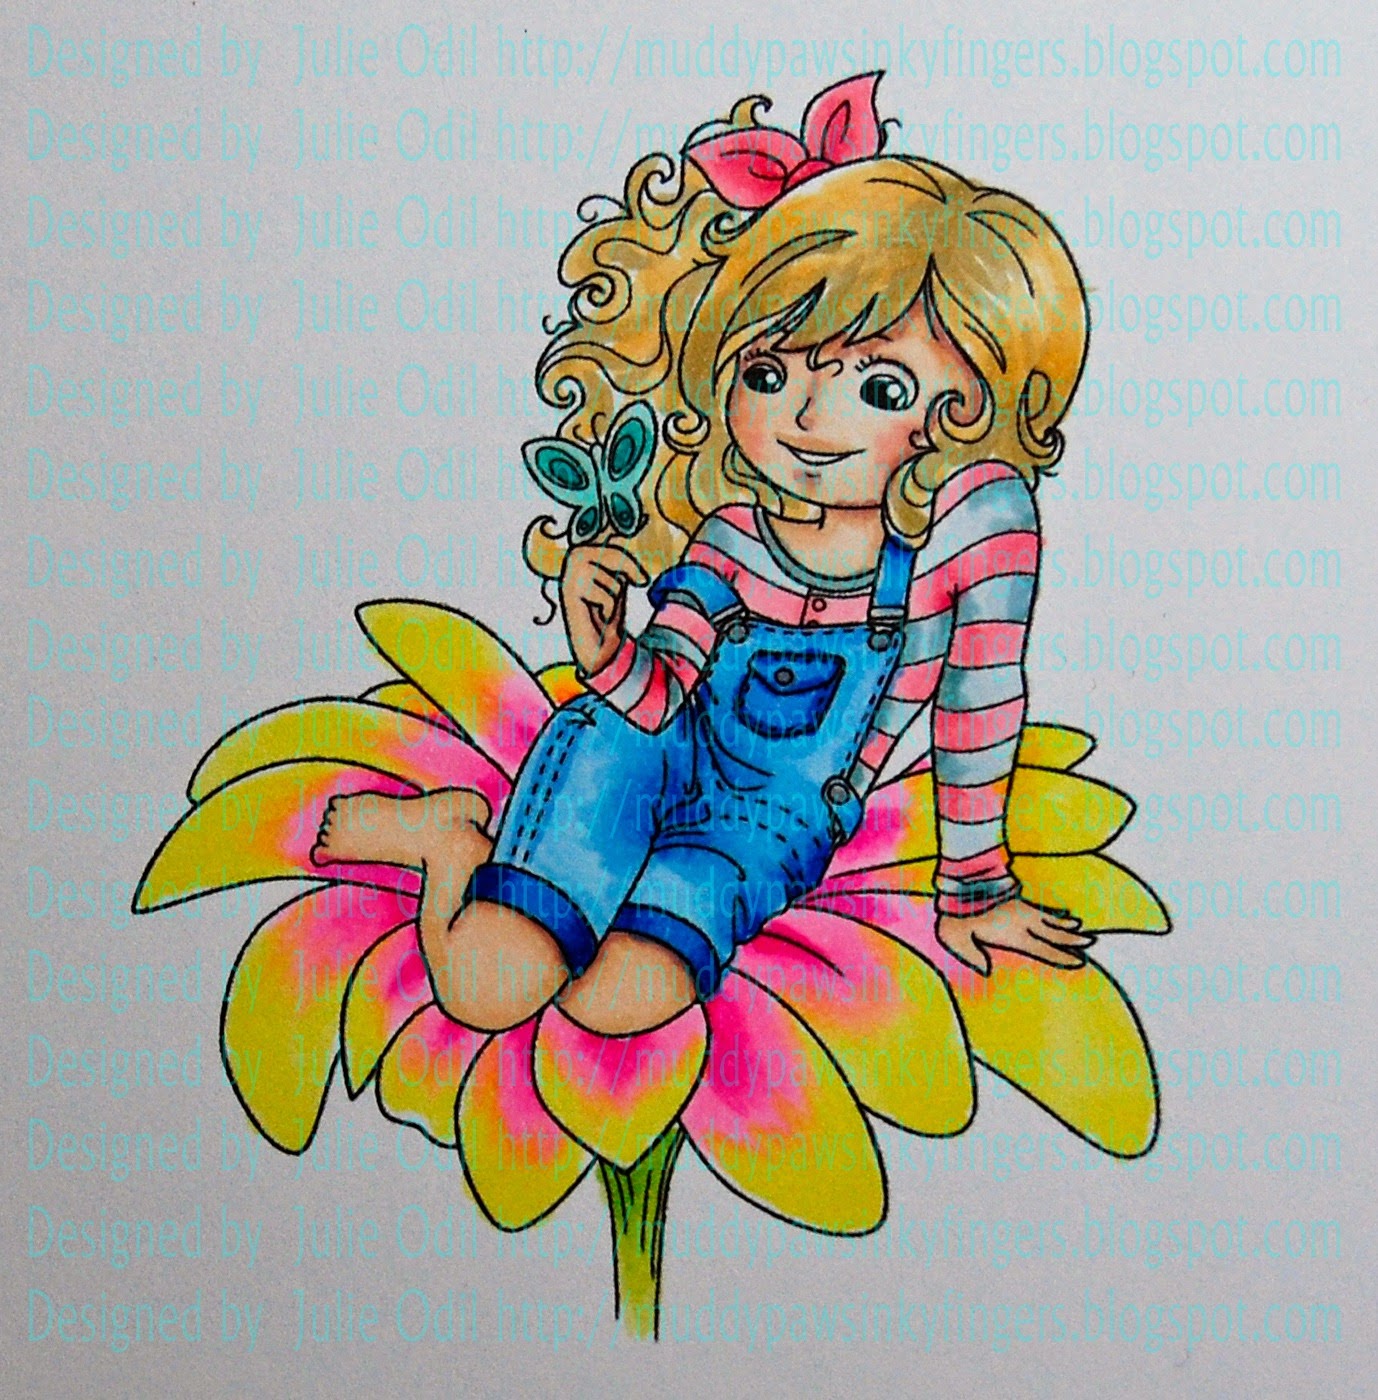
Hello crafty friends!  Julie here to showcase one of this month's new releases.  This is the adorable Isobel - Flower Pot:


I colored her up with Copic markers, using my favorite aquas and plums.  Isn't she sweet?  Check out all the New Releases in the Crafty Sentiments Designs Store.  You'll want to do some shopping, for sure! 

21 August 2016

Josh - The Catch -- a New Release

Hi everyone, Julie here today to share one of the darling New Releases from August.  
This is rubber stamp, 'Josh - the Catch'.  


I colored Josh - the Catch' with Copic markers, mounted him on a step card, and added some fishing embellishments I cut out on my Silhouette Cameo.


The rubber stamp, 'Josh - the Catch' is available in the Crafty Sentiments Designs store


14 August 2016

Josh - Gardener -- a New Release

Hi everyone, and happy Sunday!  Julie here today with some New Release inspiration for you.  This is rubber stamp Josh - Gardener:


I colored the rubber stamp, Josh - Gardener, with Copic markers.  I had my papers picked out before I finished coloring the flowers so I could match the flowers to the papers.  Which way to you do it?  Color then match papers, or papers, then color?  

This is one of the "All Boy" New Releases in the Crafty Sentiments Designs store.  Make sure to check them all out! 

11 July 2016

Patsy & Gizmo - Bubble Bath -- A New Release Showcase

Hello, crafty friends!  Julie here today with some New Release inspiration.  Suzette has released some of the cutest new rubber stamps, available in the Crafty Sentiments Designs Store.

One of the New Releases this month is Patsy & Gizmo - Bubble Bath.   This rubber stamp is a joy to color!


I especially enjoyed the challenge of the bubbles!  Very fun! 

Check out the other New Releases in the Crafty Sentiments Designs store.  While you're there, check out the rest of the incredible rubber stamps and digis available there!

24 June 2016

Faith - Popcorn & Juice -- a New Release

Hello, fellow crafters!  Julie O here today.  I have an adorable new character to share.  She's called Faith.  This rubber stamp is Faith - Popcorn & Juice.  You will find this stamp & all the new releases in the Crafty Sentiments Designs Store.


I colored Faith - Popcorn & Juice with Copic markers.  She's at the movies and having so much fun!

Check out all the wonderful rubber stamps and digis in the Crafty Sentiments Designs Store.  The new Faith series of rubber stamps can be found under 'New Releases'.

15 June 2016

Faith - Play the Music -- a New Release showcase

Hello, fellow stamp lovers.  This is Julie. Today I am showing you a darling new character recently introduced to the Crafty Sentiments Designs Store.   Her name is Faith.  This is Faith- Play the Music:

I colored Faith with Copic markers.  She is dancing her heart out to that boom box.  Isn't she sweet?

You will find this rubber stamp, and the entire new release of Faith in the Crafty Sentiments Store, listed under New Releases. 

24 April 2016

April New Release -- "Cookie Sock"

Hello, Julie here today to share one of this month's new releases.  I just love this rubber stamp, "Cookie Sock"!  I colored it up to resemble my dog, Sophie.  Yes, you might easily find her with a sock in her mouth :)

I made this into an easel card.  Here's a view where you can see the brad that holds the easel up...

Cute, don't you think?   This stamp is available in the Crafty Sentiments Designs Store.   Thanks for looking!

27 March 2016

March New Release -- Male - Just For You

Hello, fellow stamp lovers.  Julie here today showcasing one of this month's new releases -- Male - Just For You.  This rubber stamp is now available in the Crafty Sentiments Designs Store.


I colored Male - Just For You with Copic markers, then used a variety of dies to create the card.  

Thanks for stopping by this blog today.  Come back each day for lots of inspiration, tutorials, and great ideas! 

10 March 2016

March New Release --Pixie Do - Lovely Present

Hello!  Julie here today from Muddy Paws & Inky Fingers showcasing the new release, Pixie Do - Lovely Present, available in the Crafty Sentiments Designs Store.


I colored Pixie Do with Copic markers, then cut out a window-shaped card on my Silhouette to showcase this wonderful rubber stamp. Those 2 are having so much fun with that big bow!

Make sure to visit this Inspirational blog each day for more showcases of new releases, and tons of tutorials and great tips!

29 February 2016

Feb. New Release -- Isobel Just Thinking

Happy Leap Day!  Julie here today showcasing Isobel Just Thinking.

When I saw this rubber stamp, she seemed to need to be in monochromatic colors  --


I colored her with Copic markers, sticking to browns, yellow-reds, and a couple pops of aqua on her buttons and bow.

You can find this new release in the Crafty Sentiments Design Store.  In a day or 2, there will be more new releases to check out!  Come back and visit then!

Thanks for looking today, and enjoy Leap Day!

13 February 2016

February New Release - Hedgehog Hugs & Kisses

Julie here today showcasing one of this month's new releases.

This is Hedgehog - My Heart.  This hedgehog is so sweet!


You can find this adorable new release, plus many more great rubber stamps in the Crafty Sentiments Designs Shop.

11 September 2015

You're Awesome -- a Tutorial

Hello, and happy Friday! Julie here today with a short tutorial on one of my favorite techniques -- pleating ribbon. 

First, the completed card:


This Crafty Sentiments Designs rubber stamp is part of the Warm Summer Days A6 Stamp Set.  I colored her with Copic markers and Lyra Rembrandt Polycore pencils. 

For the ribbon technique -- below is everything I used -- card base, patterned paper, image, and sentiment.  There's double sided tape across the top of the card, and the ribbon that I'm going to pleat.

Maybe it's because I'm left-handed, but I found it easier to turn the card upside down and have the edge I was pleating closest to me.  I started at the outside edge (either one), and gather the ribbon, pinching it every 1/2 inch or so, sticking it the double sided tape as I go.  Be careful to keep it straight along the top.  It's easy to get going crooked if you're not paying attention.  Trust me, I've done this!

This is what it looks like after I've gotten started....
Once the ribbon get all the way across, cut it straight across the card edge with a sharp scissors.  Assemble your card, tie a bow, embellish as desired, and your card is complete! Awesome!

18 July 2015

Berry Sweet Bag Tutorial

Hello, fellow stamp lovers!  Julie here today from Muddy Paws and Inky Fingers.  I have a short tutorial today, showcasing an absolutely delightful Summertime rubber stamp from Crafty Sentiments Designs.

First, the finished project:
Strawberry season is just wrapping up here where I live.  Few things bring as much excitement as when the berries ripen.  We're all busy picking, cleaning, canning, jamming, and in my case, creating strawberry related projects.  I'll show you how I created this treat bag with a few easy scores and folds.

Cut a piece of 10 1/2 by 7 1/2 INCH card stock.  I used double-sided on this, to get the decorative rim to the bag.

Score at 2.5 inches and 7.5 inches

turn the card stock 180 degrees.

Score at 11 inches and 6.5 inches

Fold one of the edges inward.  This will be the bottom.  Fold one outward.  This will be the top, and the decorative rim. 

I scored triangles in the bottom at .5 increments, but this isn't necessary (it just makes it look a bit "fancier").

Punch holes at the top at 1.5, 4, 6.25, and 8.5 inches. 

Fold on score lines.  Use a strong adhesive or glue on the bottom of the bag to hold it together, and where it overlaps.  Add your favorite ribbon for a handle.

The image I used on the front of the bag is Crafty Sentiments Designs rubber stamp, Eating Strawberries.  She was colored with Copic markers.  I used 2 different dies from a Paper Wishes tag set to cut out the Eating Strawberries rubber stamp and sentiment.   

I hope you give this simple gift bag idea a try!

6 June 2015

Happy Spring -- Tips and Tricks with Julie

Hello, and happy June, everyone.  This is Julie from Muddy Paws & Inky Fingers with you today, bringing you some of my favorite card-making tips. First, I'll show you my card, using Crafty Sentiments Designs rubber stamp, Rainy Days:
I like to make shaped cards.  I think that add a lot to a card, drawing the viewer's eye to the image.  I use either an electronic die cut machine, like my Silhouette Cameo, or in this case, My Cricut Explore, &/or a manual die cut machine like my Big Shot or Grand Caliber. 
I colored the rubber stamp, Rainy Days, with Faber-Castell Polychromos pencils.  I've used them before on flowers and animals, but this was my first attempt on skin tones, hair, and clothing. 
Another "tip" -- I like to match elements to the theme of the image. The die cut umbrella is a perfect example of this.  As with the shaped card, I think it draws the viewer's eye TO the image, instead of distracting from it.  Using papers that match the image does the same thing.  One of the designer papers has rain drops on it -- sticking with the Rainy Days theme.  
One more tip -- many of my creations have crinkle ribbon on them.  I find it incredibly easy to work with.  I can tie the perfect bow almost every time.  It's very forgiving!
Visit this blog often for lots of tutorials and beautiful work.  Did you know we're having a Guest Designer call? There's also the Crafty Sentiments Challenge blog, with chances to win charming Crafty Sentiments stamps for yourself.  Have you checked out the Crafty Sentiments Designs Facebook page?  There's even more inspiration there.  

28 May 2015

Think Spring!


Hello, fellow crafters! Julie here today from Muddy Paws & Inky Fingers. I am always excited when I have a chance to work with a Crafty Sentiments Designs stamp
These images are sooooo cute!  Today, I share with you Kaye (Springtime), a digi stamp from the Crafty Sentiments Design store


I colored Kaye with Copic markers.  I used my Silhouette Cameo to create the card for her. The designer papers are from Basic Grey. Embellishments are from Close To My Heart.
Spring is just underway where I live.  We are just starting to get rid of jackets and sweaters, and get out the short sleeves.  I've yet to wear shorts, but I hope the day is coming soon.  Like Kaye, I'm thinking Spring!
Starting in June, I'm switching to the Crafty Sentiments Challenge blog team.  Come check out all the creations from the design team, and join our challenges.  

9 May 2015

Thinking of You

Happy Saturday!  This is Julie, from Muddy Paws & Inky Fingers with you today. I am using an always charming Crafty Sentiments Designs stamp.  This one is perfect for a warm spring day...
Isn't she sweet?  This is rubber stamp, Primrose - Garden Flowers.  I colored her with Copic markers, then cut her out with a Spellbinders die.
I love shaped cards.  I think they add that extra little something to your card.  I cut this one out on my Silhouette.
The daffodils are in bloom where I live, so Primrose is right in fashion!  Love her sweet hat and boots!  You have to check out this rubber stamp and so much more at Crafty Sentiments Designs!

1 May 2015

Thinking of You -- a Tutorial

Julie here today from Muddy Paws & Inky Fingers with a Copic tutorial to share with you.  I'll show my technique for two-toned flowers using Copic markers.
I used the delightful Crafty Sentiments Designs rubber stamp, Sweet Butterfly.

This is the start of the two-toned flower.  I have a few petals blended with Copic markers, using Y02, RV02, and RV04.
Start at both ends of the petal, flicking towards the middle to blend the colors.  It will take several times to get the perfect blend.
This is the first time the two colors are mixed (picture below)
This next picture shows the colors after I've blended the petal several times.
Here's another example --first color applied
The colors are laid down (below), but not yet blended very well.
Now, the colors are blended together!
The flower is complete, and the whole Sweet Butterfly rubber stamp has been colored.

Please check out this blog regularly for more wonderful creations from a talented design team.

25 April 2015

Hello

It's Julie here today from Muddy Paws & Inky Fingers. I can't believe I'm now 1/2 way through my 6 month guest designing gig here at Crafty Sentiments Inspirations.  I am having so much fun!
Today, I am featuring the sophisticated Lola.  
This is Lola - You're the Best.  She is a digital stamp.  I made her big, so she would be the focus of the card.  I colored her with Copic markers, then used a couple of dies to cut out the image and back it.  The tag is also a die.  
If you enjoyed this image of Lola, check out the other ones in the Crafty Sentiments Designs store.

16 April 2015

Hugs from Hootie and I -- a Tutorial

Happy Thursday, everyone!  This Julie today, from Muddy Paws & Inky Fingers.  I have a tutorial to share on using a die cut in a different way.
First, the finished card, then, how I did it:

I used Crafty Sentiments Designs digital image  Hootie -- Rain, Rain, Go Away on this card.  He's ready for spring, that Hootie!
Here's how I made the card.
I started by coloring my image.  I almost always have the papers I plan to use close by to match the colors to it.  This image is colored with Copic markers.
Then, I chose what dies I wanted to use.  You can use this technique with a variety of shapes -- circles, square, oval, rectangle.  I chose stitched rectangles by Lawn Fawn.  
I cut out the image with a large stitched rectangle, and placed it where I thought it would be.  It is not glued at this point, just set there.
Then, I placed a smaller stitched rectangle on the front of the card, using the inside image as a guide.  The inside one isn't glued because it's easier to adjust the inside one at the end, if needed.  Notice, I used washi tape to anchor my die -- works great!
Don't forget to open up your card before you run it through your die cut machine ;)
 After you've cut the front, you can fasten the inside in, using whatever adhesive you prefer.  
Now, the fun of decorating the outside of the card begins.  I kept the embellishing to a minimum, preferring to leave the focus on the adorable Hootie image and die cut card front.

Hugs to you from Hootie and I!

4 April 2015

Happy Easter!

It's the day before Easter, and this is Julie, from Muddy Paws & Inky Fingers.  Since it is so close to Easter, I decided to go with an Easter-themed card.
This Crafty Sentiments Designs image is called, "Toby in Pot".  It was very fun to color with Copic markers, as there were quite a few different elements in this image -- Toby, pot, flowers, mushroom, grass, and butterfly. 
Please check out the Crafty Sentiments Designs Shop to see all the delightful images and CD's. For a chance to win some great images of your own, enter your creations in the Crafty Sentiments Challenges each week. 
Happy Easter to you all!